
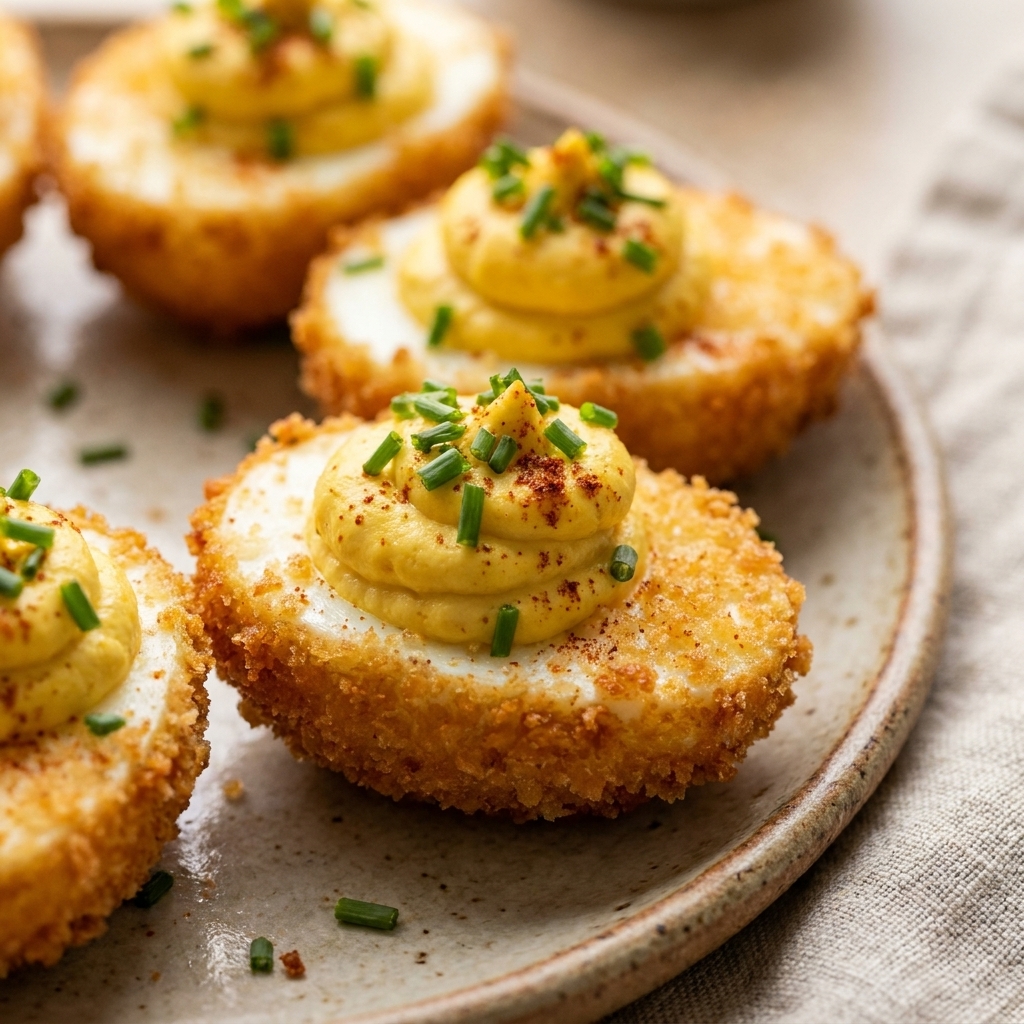
I love a classic deviled egg, but I really love a deviled egg that makes people stop mid-sentence and go, “Wait… what IS that?” Deep-fried deviled eggs do exactly that. You get a shatteringly crisp crust around the egg white, then the familiar creamy filling on top. It is dramatic in the best way, and it disappears fast at parties.
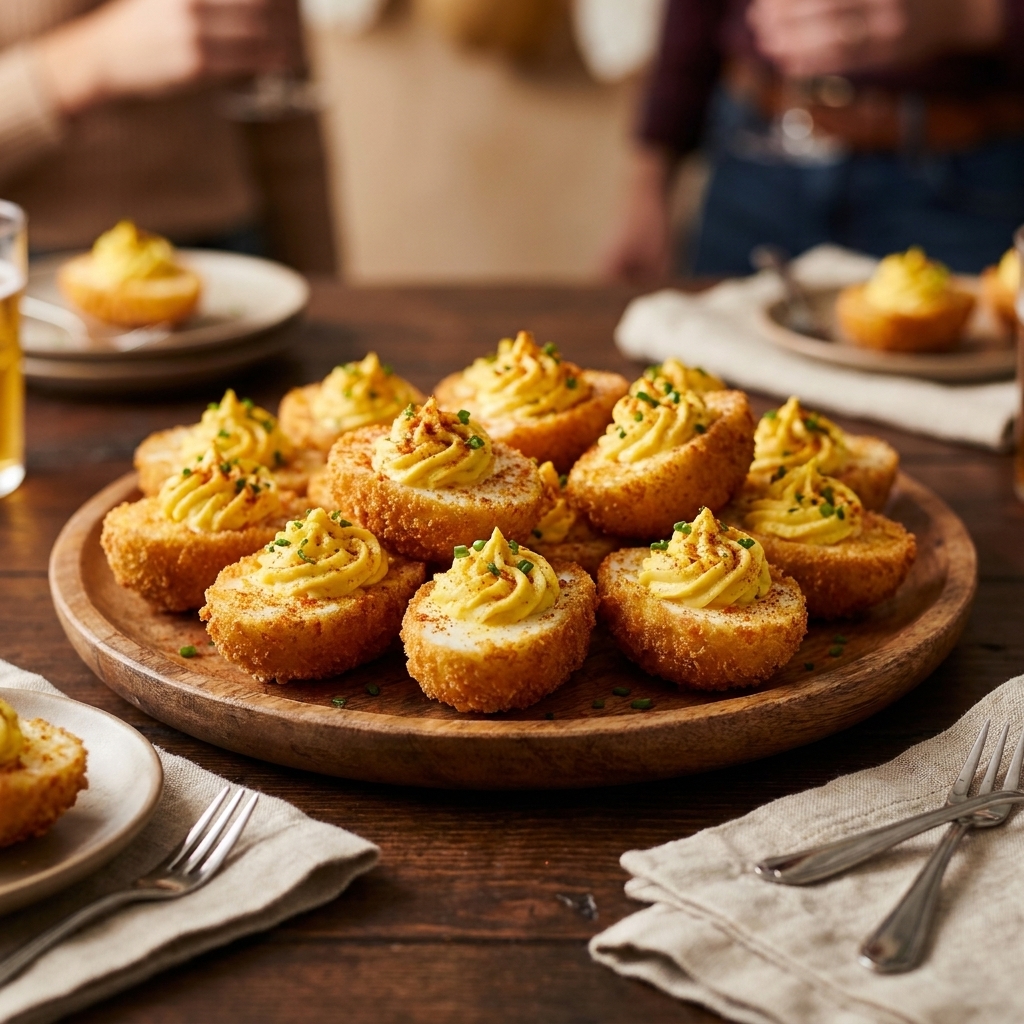
This recipe is all about technique: keep the whites dry, bread them like you mean it, and fry quickly at the right temperature so the crust gets crunchy without turning the egg rubbery.
What makes them different
We are not frying raw eggs here. We are:
- Hard-boiling eggs
- Halving them and removing yolks
- Breading only the cooked egg whites
- Deep-frying the breaded whites briefly
- Cooling, then filling
That order matters. If you fill first, the filling warms and loosens. If you fry too long, the whites toughen. We are going for crisp outside, tender inside, and cold creamy filling.
Ingredients (24 pieces)
For the eggs
- 12 large eggs
- Neutral frying oil (canola, peanut, vegetable), enough for 2 to 3 inches in your pot
For the breading station
- 1/2 cup all-purpose flour
- 1 teaspoon kosher salt
- 1/2 teaspoon paprika
- 1/4 teaspoon garlic powder
- 2 large eggs
- 1 tablespoon water or milk
- 1 1/2 cups panko breadcrumbs
For the deviled egg filling
- Cooked egg yolks (from the 12 eggs)
- 1/3 cup mayonnaise
- 1 teaspoon Dijon mustard
- 1 1/2 teaspoons white vinegar or pickle juice
- 1/4 teaspoon kosher salt, plus more to taste
- Black pepper, to taste
Optional toppings
- Extra paprika
- Chopped chives or scallions
- Crumbled bacon
- Pickled jalapeno bits
If you prefer to skip mayo entirely, you can borrow the filling ideas from my no-mayo deviled eggs and use that style of yolk mixture here. Just keep the filling on the thicker side so it holds its shape.
Equipment
- Large pot or Dutch oven for frying
- Thermometer for oil temperature (clip-on is ideal)
- Spider strainer or slotted spoon
- Wire rack over a sheet pan (best for staying crisp)
- Paper towels
- Pastry bag or zip-top bag for piping
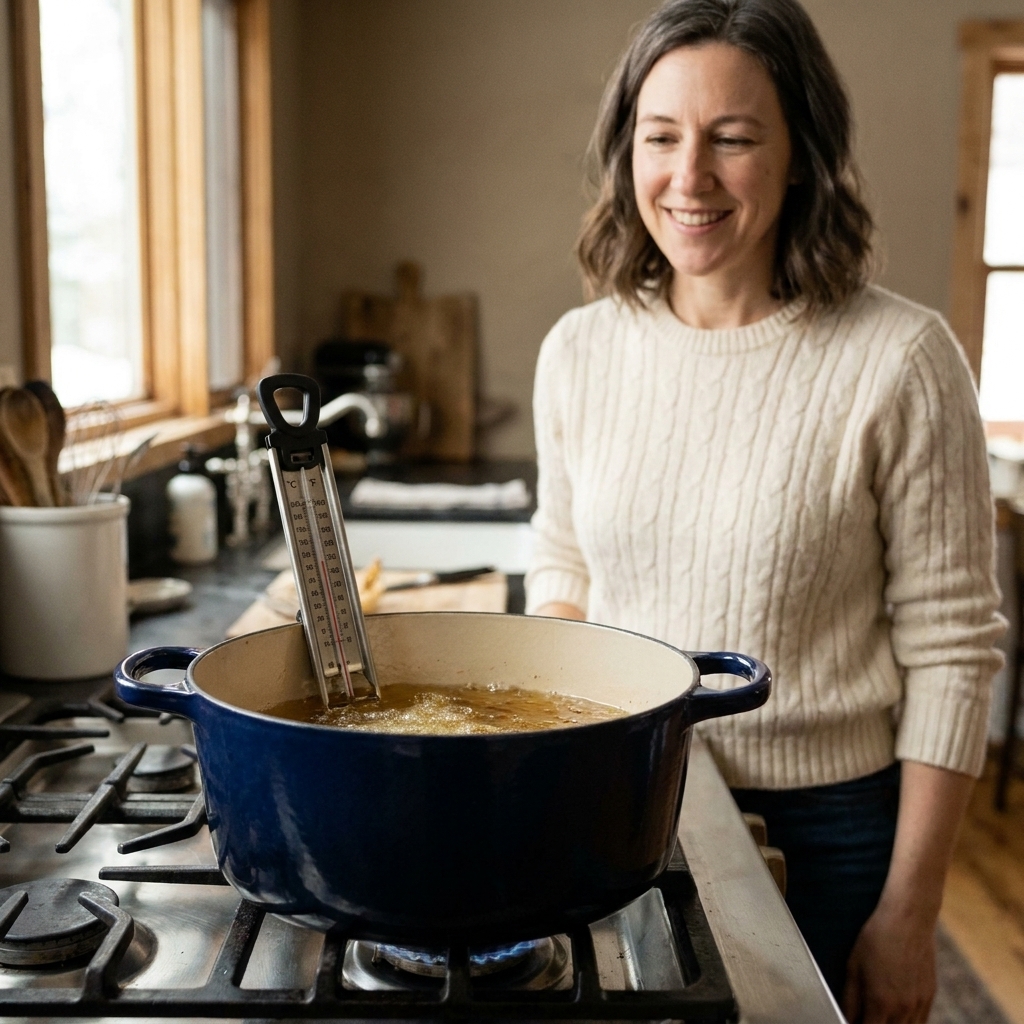
You can do this without a thermometer, but you will be guessing. With deviled eggs, guessing is how you end up with a greasy coating and overcooked whites.
Oil note: I tend to reach for peanut or canola oil here because they handle frying heat well and taste neutral. Use enough oil that the egg halves can float and are not stuck to the bottom of the pot.
Step 1: Boil and peel
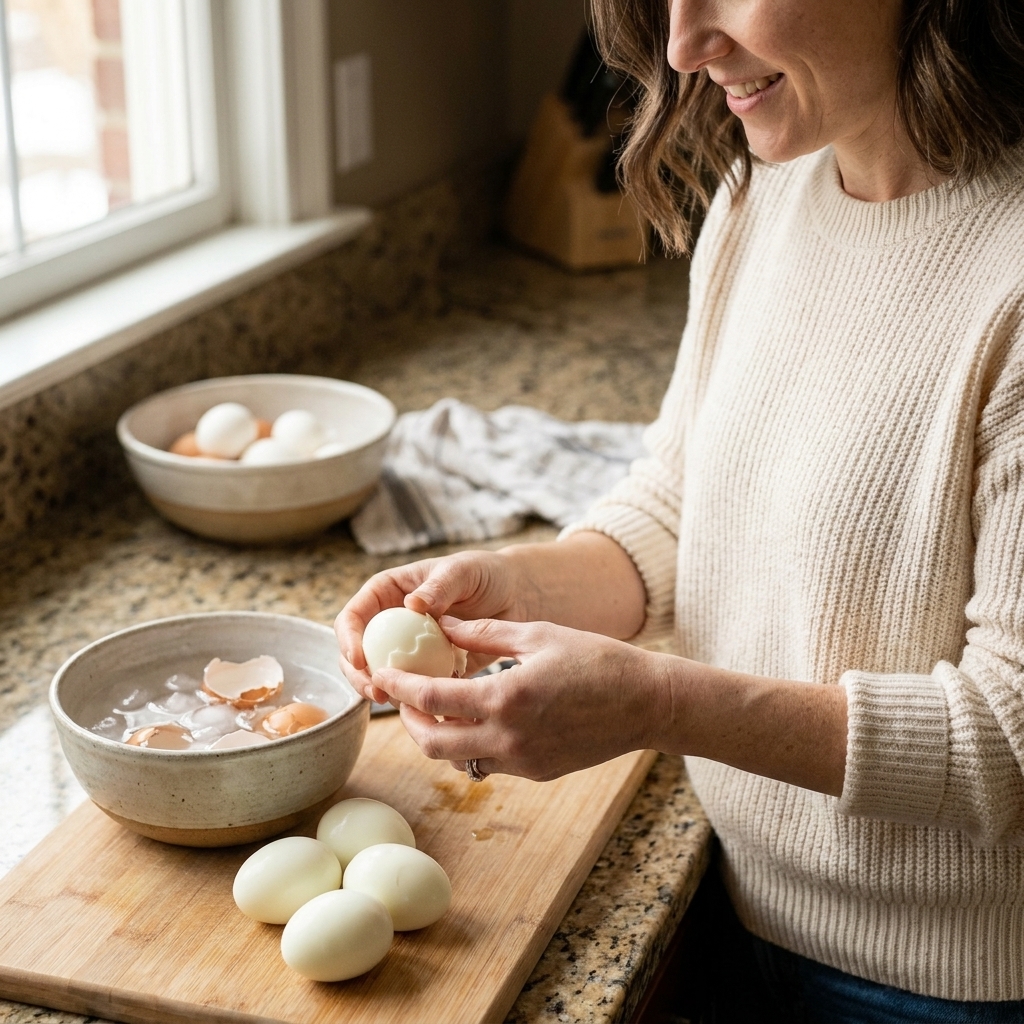
Start with well-cooked, easy-to-peel eggs because we need pretty, intact whites that can take breading and frying. If you want my full method, I walk through it in How to Boil and Peel Eggs for Deviled Eggs.
Quick method for this recipe
- Boil the eggs, then chill completely in an ice bath.
- Peel carefully under a little running water if needed.
- Pat dry.
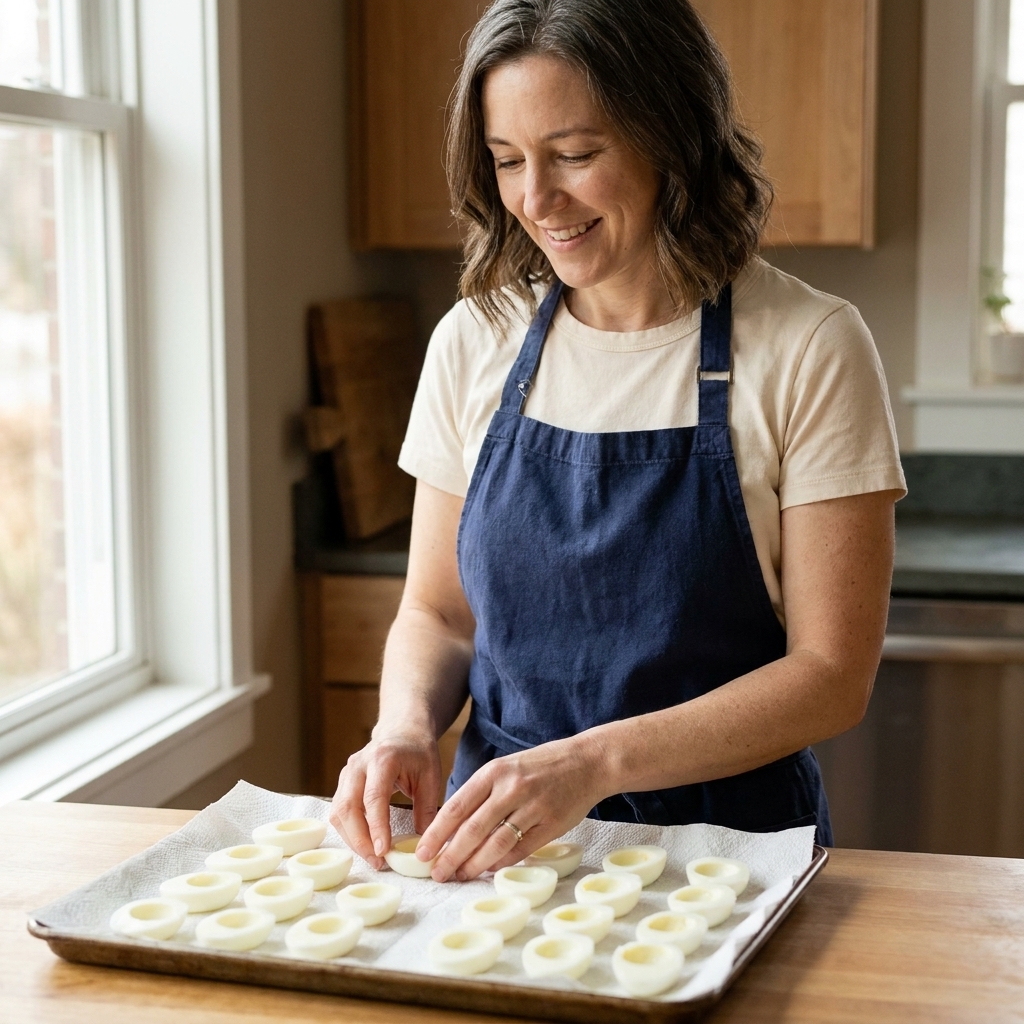
- Slice each egg lengthwise and gently pop out yolks into a bowl.
Important: Lay the whites cut-side down on a paper towel lined tray and let them sit 10 to 15 minutes. Drier whites mean breading that actually sticks.
Step 2: Make the filling
Frying goes fast. Having the filling ready means you can focus on oil temperature and timing.
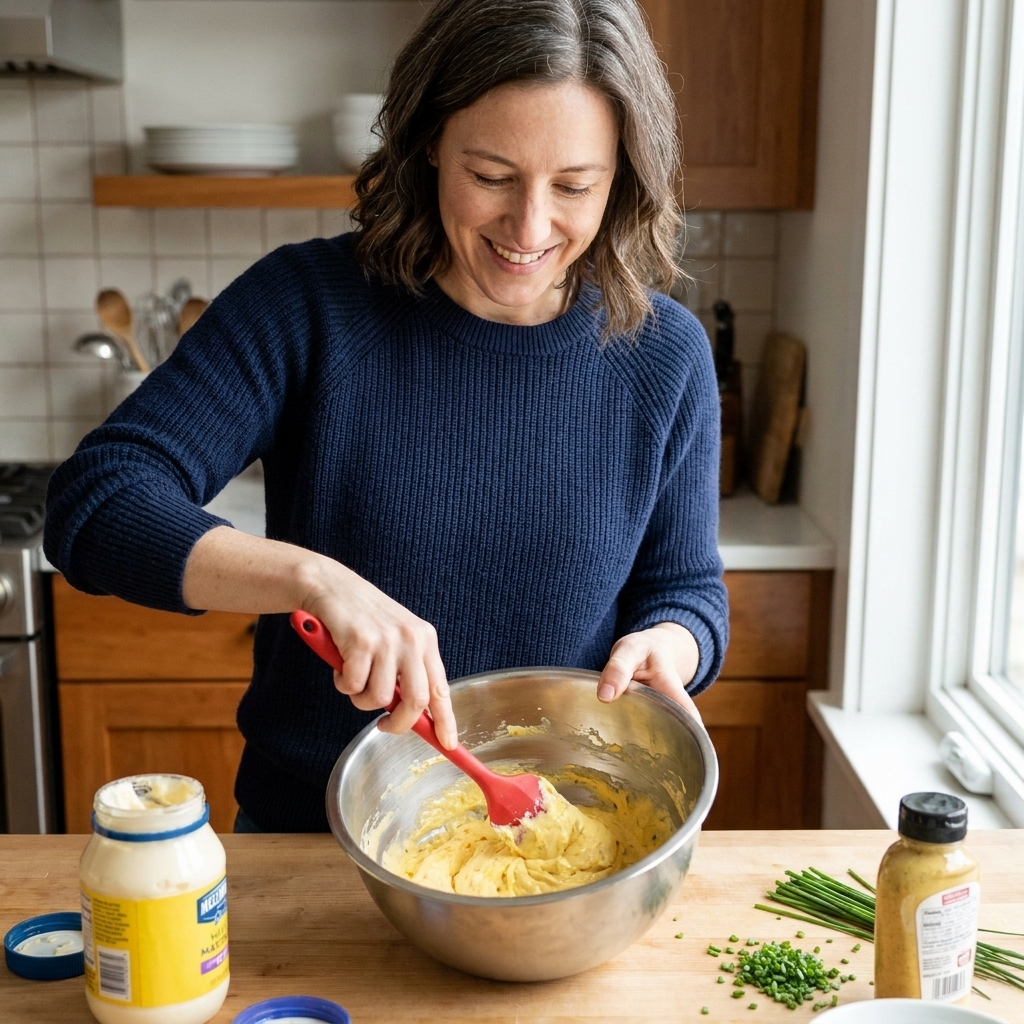
- Mash yolks until very fine (a fork works, a small sieve is even smoother if you have one).
- Mix in mayo, Dijon, vinegar or pickle juice, salt, and pepper.
- Taste and adjust. It should be a little tangy and slightly more seasoned than you think, because the fried whites are mild.
- Spoon into a piping bag or zip-top bag and refrigerate while you bread and fry.
Piping tip: A star tip helps the filling grip and sit tall on the crunchy base, but a simple round tip (or a snipped corner of a zip-top bag) works fine.
If your filling turns out too loose, hop over to How to Fix Runny Deviled Egg Filling before you pipe. A thick filling is your best friend on a crunchy base.
Step 3: Breading setup
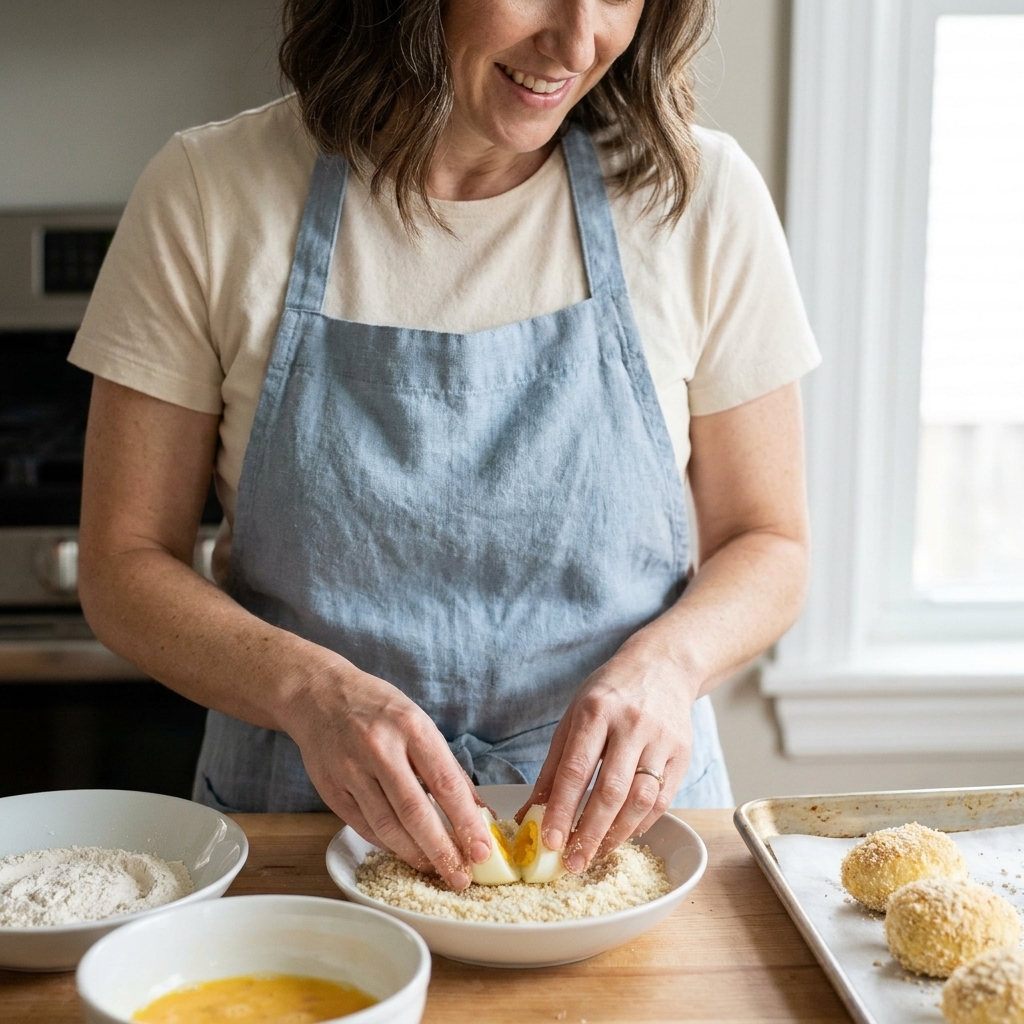
Think: dry, wet, dry. In three shallow bowls:
- Bowl 1 (flour): flour, salt, paprika, garlic powder
- Bowl 2 (egg wash): 2 eggs whisked with 1 tablespoon water or milk
- Bowl 3 (crumbs): panko
My little hosting tip: Put your wire rack and sheet pan right next to the breading station so your coated whites have a landing zone.
Step 4: Bread the whites
- Working with a few whites at a time, dredge in seasoned flour. Tap off excess.
- Dip in egg wash and let extra drip off.
- Press gently into panko, making sure the curved sides are coated.
- Place on the rack and repeat.
Key detail: If your whites are slick or damp, the flour turns pasty and the crust slides. Pat dry again if needed. I know it feels fussy. It is worth it.
Step 5: Fry
Heat 2 to 3 inches of oil in a heavy pot to 350°F. Hold that temperature as steadily as you can.
- Fry in batches, cut-side down first, without crowding. In a medium Dutch oven, that is usually about 4 to 6 egg halves per batch.
- Fry until deep golden, turning once, about 1 to 2 minutes total depending on your pot, oil depth, and how cold your whites are.
- Remove with a spider and drain on the wire rack.
- Let the oil return to 350°F between batches.
Rack tip: A rack keeps the crust crisp instead of steaming.
Temperature cheatsheet
- Oil below 335°F: coating absorbs oil and gets heavy
- Oil around 350°F: crisp crust, quick cook
- Oil above 375°F: crust can brown too quickly before the egg white warms through
Once fried, let the whites cool at room temperature about 10 minutes, then refrigerate 15 to 30 minutes before filling. The filling should go onto cooled whites, not warm ones.
Step 6: Fill and finish
- Arrange cooled fried whites on your serving platter.
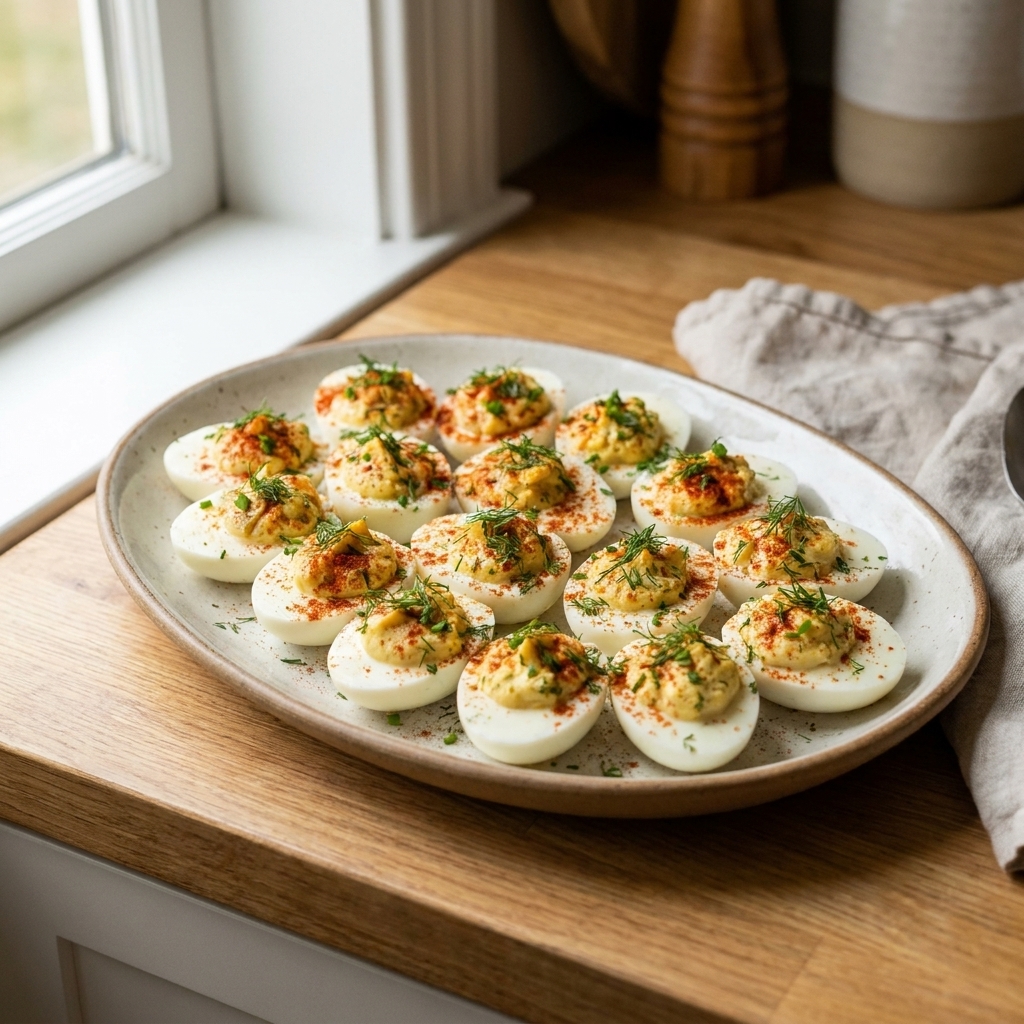
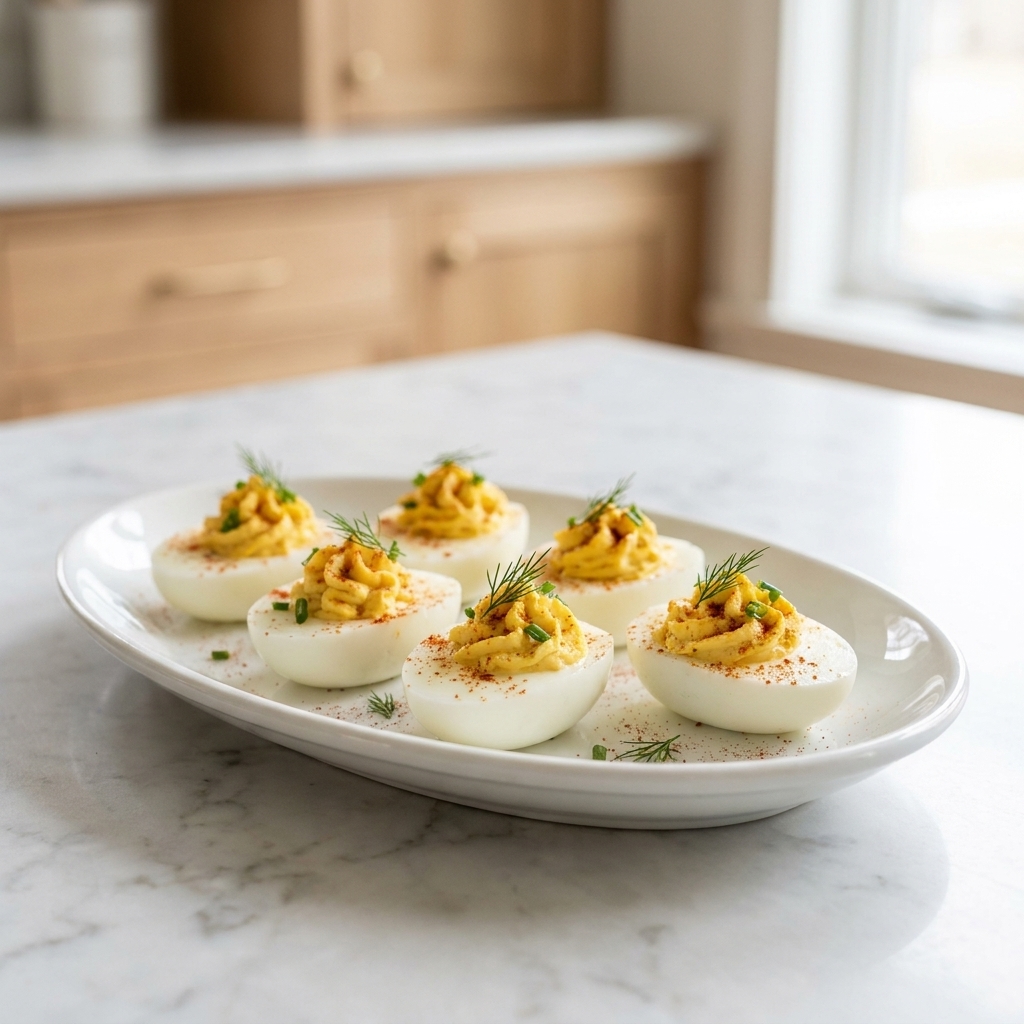
- Pipe filling generously into each cavity.
- Top with paprika, chives, bacon, or your favorite crunchy garnish.
Serve right away for maximum crunch. If you are setting out a bigger spread, I like to put out half the tray first and keep the rest chilled, then refresh the platter as it empties.
For party-planning timing and tray ideas, my chilled deviled egg party tray guide is my go-to approach when I want things to feel abundant without feeling chaotic.
Make-ahead and storage
What you can do ahead
- Boil and peel eggs: 1 to 2 days ahead. Store peeled eggs in an airtight container with a paper towel.
- Make the filling: up to 2 days ahead. Keep it chilled in a piping bag or airtight container.
- Bread the whites: up to 4 hours ahead, refrigerated on a rack (lightly covered). Just know the coating can hydrate as it sits. For best adhesion, fry soon after breading.
What I do not recommend
- Frying the whites the day before: the crust softens in the fridge. Still tasty, but you lose the whole point.
- Filling far in advance: the filling can soften the crust where it touches.
Leftovers
Store leftovers covered in the refrigerator. They are best for texture within 1 day, and the crust will soften over time.
Serving window: Like most deviled eggs, do not leave them out at room temperature longer than about 2 hours (or 1 hour if it is very warm).
Troubleshooting
The breading falls off
- Whites were too wet. Dry them longer.
- Skipped the flour step or did not tap off excess egg wash.
- Oil was not hot enough, so the coating did not set quickly.
- Breaded whites sat too long in the fridge and the crumbs hydrated. Fry sooner after breading next time.
The crust is golden but the white feels tough
- Fried too long. Use color as your guide and pull them as soon as they are deep golden.
- Oil was too cool, so they needed extra time.
The coating is greasy
- Oil temperature too low.
- Crowding the pot drops the temp. Fry fewer at a time.
The filling slides off
- Whites were still warm. Cool them fully first.
- Filling is too loose. Thicken it using my runny filling fixes.
Flavor variations
- Buffalo-style: add a teaspoon of hot sauce to the filling, top with a tiny celery leaf.
- Pickle lover: use pickle juice in the filling, top with a finely chopped cornichon.
- Smoky bacon: add smoked paprika to the yolks, top with bacon bits and chives.
- Spicy crunch: mix cayenne into the flour, top with pickled jalapeno.
If you want more deviled egg mix-and-match ideas, start with our deviled eggs guide. It is the rabbit hole I happily fall into every holiday season.
Frying safety
- Use a heavy pot and do not fill oil more than halfway up the sides.
- Keep kids and pets out of the frying zone.
- Lower food into oil gently to avoid splashes.
- If oil smokes, it is too hot. Turn off heat and let it cool before continuing.
Once oil is fully cool, strain and store if it is still clean, or dispose of it properly according to your local guidelines.