
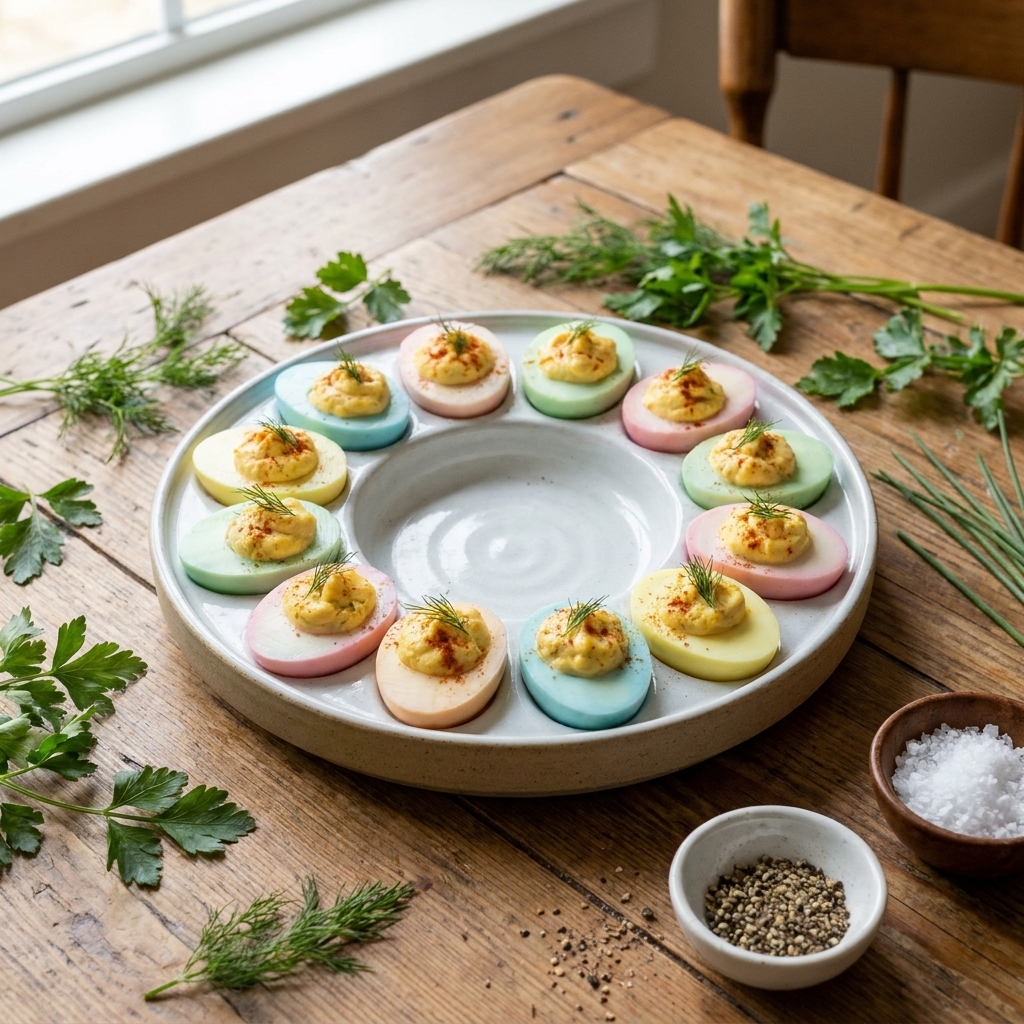
I grew up in a house where the appetizer spread was the main event. The kitchen island was basically our family stage, and if something looked festive, it disappeared first. That is exactly why I love naturally dyed deviled eggs for holidays and themed parties. They look like you went full “craft project,” but it is really just pantry ingredients, a little patience, and a chilled tray.

This guide is all about safely coloring the egg whites (not the filling) with beet juice, turmeric, red cabbage, and a few other easy options, plus how to keep the texture and flavor deviled-egg-perfect.
One expectation setter: natural dyes are a little moody. The same cabbage can swing bluer or more purple depending on your water, the strength of your dye, and soak time. That is part of the charm, but it also helps to know going in.
Before you dye
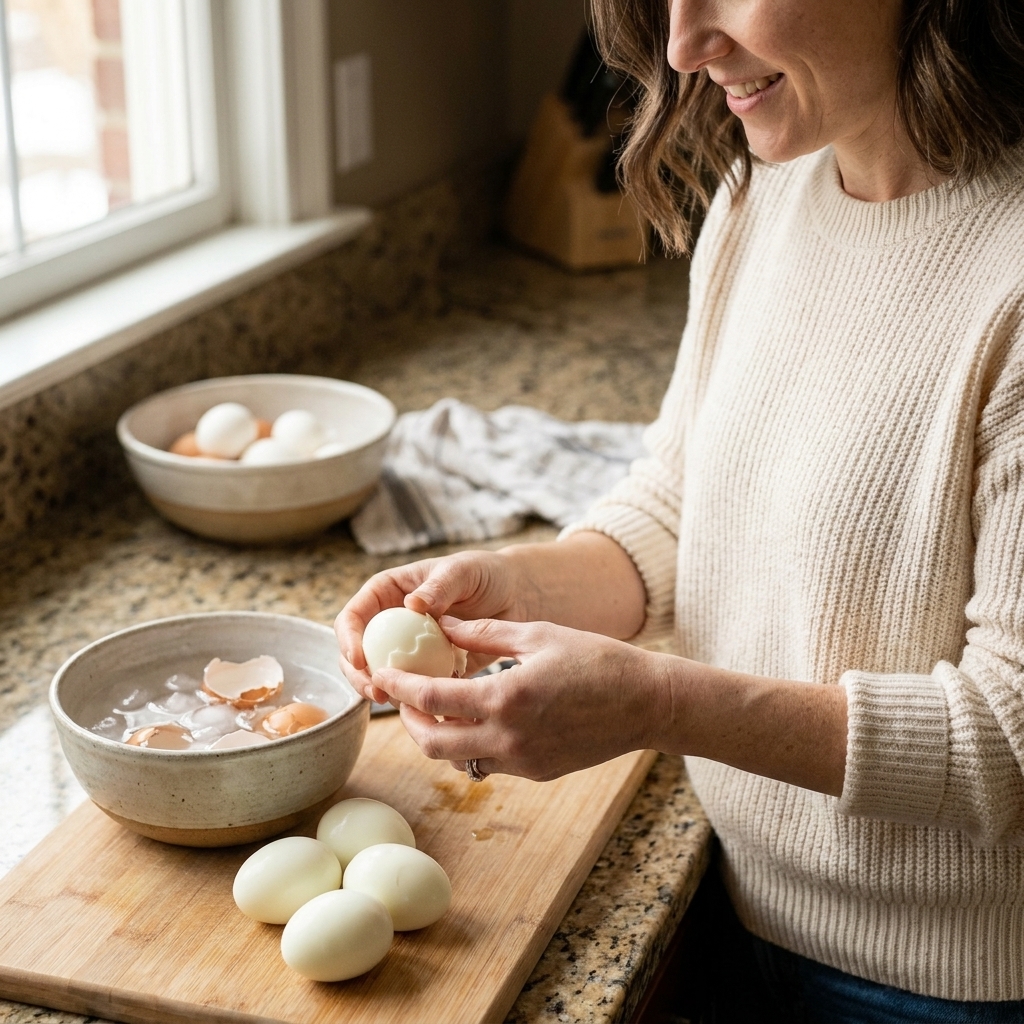
The smoother your peeled whites, the prettier your final eggs. I like to dye eggs that are already hard-boiled, peeled, and fully cooled.
- Choose eggs that are a few days old if you can. Super fresh eggs tend to cling to the shell.
- Boil and peel cleanly so the dye looks even and polished.
If you want my step-by-step for consistent, easy-peel eggs, start here: How to Boil and Peel Eggs for Deviled Eggs.
The basic method
Once you learn this, you can “plug in” different ingredients to get different colors.
What you need
- Peeled hard-boiled eggs, halved, yolks removed
- Natural dye liquid (recipes below)
- White vinegar (optional for some dyes, see notes)
- Small bowls or wide cups (one per color)
- Paper towels and a wire rack or plate for drying
- Gloves optional, but beet dye loves to stain fingertips
Step-by-step
- Make the dye. Simmer the ingredient with water (or use juice or tea), then strain so the liquid is smooth.
- Cool completely. Dyeing works best when the liquid is cool and your egg whites are cold.
- Adjust acidity if needed. For most dyes, start with about 1 tablespoon white vinegar per 1 cup dye liquid. If you want stronger color, you can tweak soak time, dye strength, and sometimes acidity (especially with cabbage, explained below).
- Submerge the whites. Place egg white halves in the dye, cut-side up or down, your choice. I usually do cut-side down for the most intense outer color.
- Refrigerate to dye. Cover and chill. Start checking at 10 to 15 minutes for faster dyes like beet and turmeric. Cabbage usually needs longer.
- Remove and dry. Lift whites out, let excess drip off, and place on paper towels to dry. Blot gently so you do not tear the whites. For the cleanest finish, move them to a rack after blotting.
- Fill right before serving or within a few hours. Dyed whites are happiest when kept cold and not sitting around too long.
Timing cheat: 10 to 20 minutes gives pastel. 30 to 60 minutes gives brighter color. A few hours gives deeper tones, but very long soaks can slightly firm up the whites.
To prevent “ring lines”: if part of the egg is pressed against the side or bottom of the cup, rotate or flip the whites once midway through dyeing, or use a wider bowl so they float freely.
Best natural dyes
These are the ones I rely on when I want that “wow” tray without food coloring.
Beet (pink to magenta)
How it looks: blush pink at 10 minutes, deeper rose at 30 to 60, and jewel-toned if you go longer.
- Fast option: Use plain beet juice (from cooked beets or bottled beet juice).
- Stovetop option: Simmer 1 cup chopped beets with 2 cups water for 15 to 20 minutes, then strain.
- Add vinegar: about 1 tablespoon per cup dye.
Tessa tip: Beet dye can look slightly uneven if the whites are damp. Pat the whites dry before dunking for a smoother finish.
Turmeric (sunny yellow)
How it looks: bright yellow quickly, and it is the easiest “high impact” color on the list.
- Simmer 2 cups water with 1 tablespoon ground turmeric for 5 minutes. Let steep 10 minutes, then strain through a fine sieve or coffee filter for smoother dye.
- Add vinegar: about 1 tablespoon per cup dye.
Heads up: Turmeric stains counters and dish towels. I use a plate or tray under my dye cups, and I wipe spills immediately.
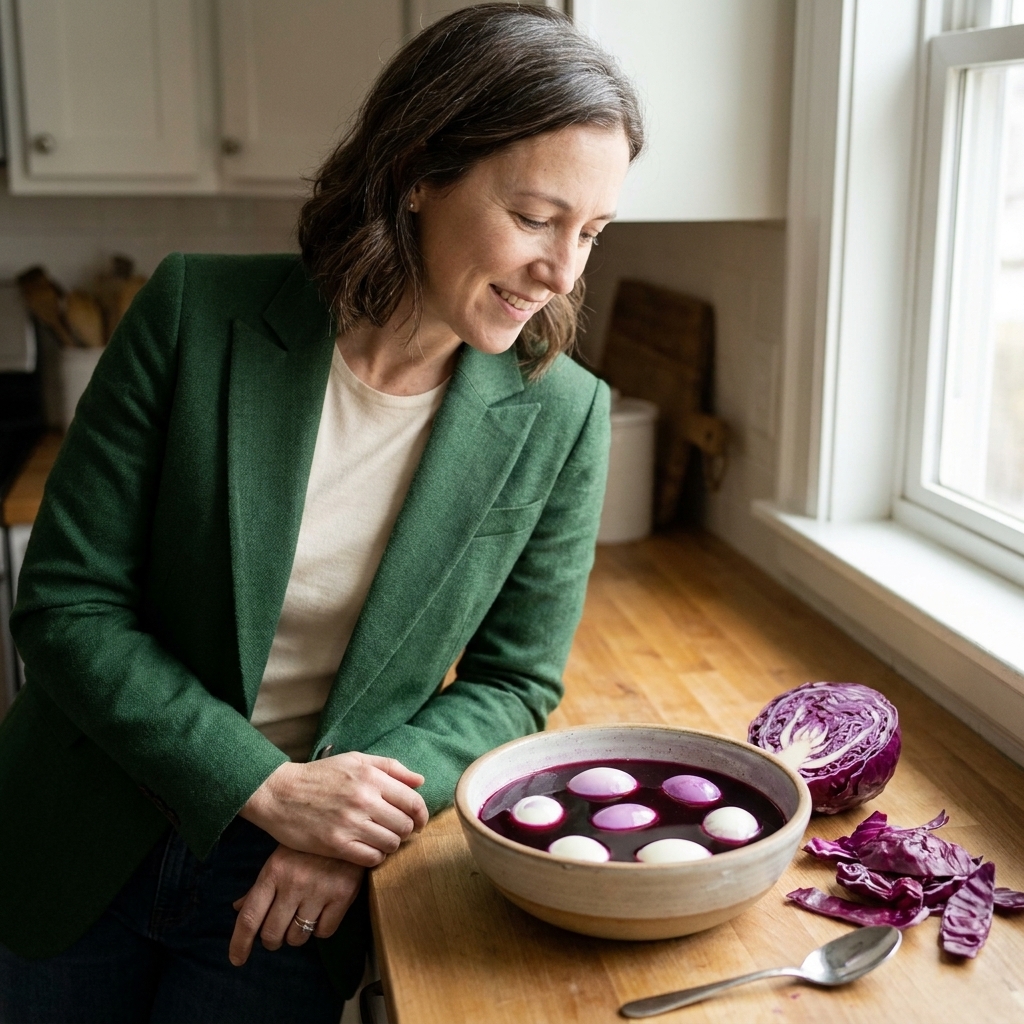
Red cabbage (blue, teal, purple)
How it looks: cabbage dye is pH-sensitive, so you can get pale blue to teal or more purple tones depending on what you add. If you are chasing true blue, go easy on vinegar.
- Simmer 2 packed cups chopped red cabbage with 2 cups water for 15 to 20 minutes. Cool and strain.
- For bluer tones: start with no vinegar. Dye 1 to 2 hours in the fridge (sometimes longer), checking every 30 minutes.
- For more purple tones: add about 1 tablespoon vinegar per cup dye, then dye and check as you go.
Tessa tip: Cabbage dye is the one I plan ahead for. It often takes longer than beet or turmeric, but the color is so worth it for winter holidays, baby showers, or ocean themes.
Hibiscus or berry tea (lavender to mauve)
How it looks: soft purple tones, usually more muted than cabbage but very pretty.
- Steep 2 to 3 hibiscus tea bags (or strongly brewed berry tea) in 2 cups hot water for 10 minutes. Cool completely.
- Add vinegar: about 1 tablespoon per cup dye.
Coffee or black tea (tan to light brown)
How it looks: warm beige tones that look gorgeous for fall boards.
- Brew very strong coffee or 4 black tea bags in 2 cups water. Cool.
- Add vinegar: about 1 tablespoon per cup dye.
Even color tips
- Dry the whites before dyeing. Water droplets create lighter spots.
- Strain your dye. Tiny spice bits (looking at you, turmeric) can cling and speckle.
- Use enough liquid to fully submerge. If whites float, weigh them down gently with a small lid or ramekin.
- Avoid hot dye. Warm liquid can slightly “cook” the outside, which can turn the whites rubbery.
- Do not overcrowd the cup. Give each white some breathing room so it dyes evenly.
Food safety
I am very fun at parties, but I am also the person who sets a timer when the eggs hit the table.
- Keep everything cold. Dye in the refrigerator, not on the counter.
- Do not leave deviled eggs out too long. As a practical hosting rule, I aim for no more than 2 hours total at room temperature (and closer to 1 hour if it is very hot).
- Store dyed whites covered. They can pick up fridge smells and dry out if left uncovered.
- Use clean containers. Especially if you are reusing jars for multiple colors.
If you are planning ahead, my timing guide is here: How Far in Advance Can You Make Deviled Eggs?
Make-ahead game plan
If I am hosting, I split dyed deviled eggs into stages so I am not scrambling an hour before guests arrive.
- 1 to 2 days ahead: Boil, peel, halve. Store whites and yolks separately in airtight containers. (Best texture is usually within 24 to 48 hours.)
- 1 day ahead: Make dye liquids, cool, strain, refrigerate.
- Day of, 2 to 6 hours ahead: Dye the whites, dry them well, and refrigerate on a paper-towel-lined tray (covered).
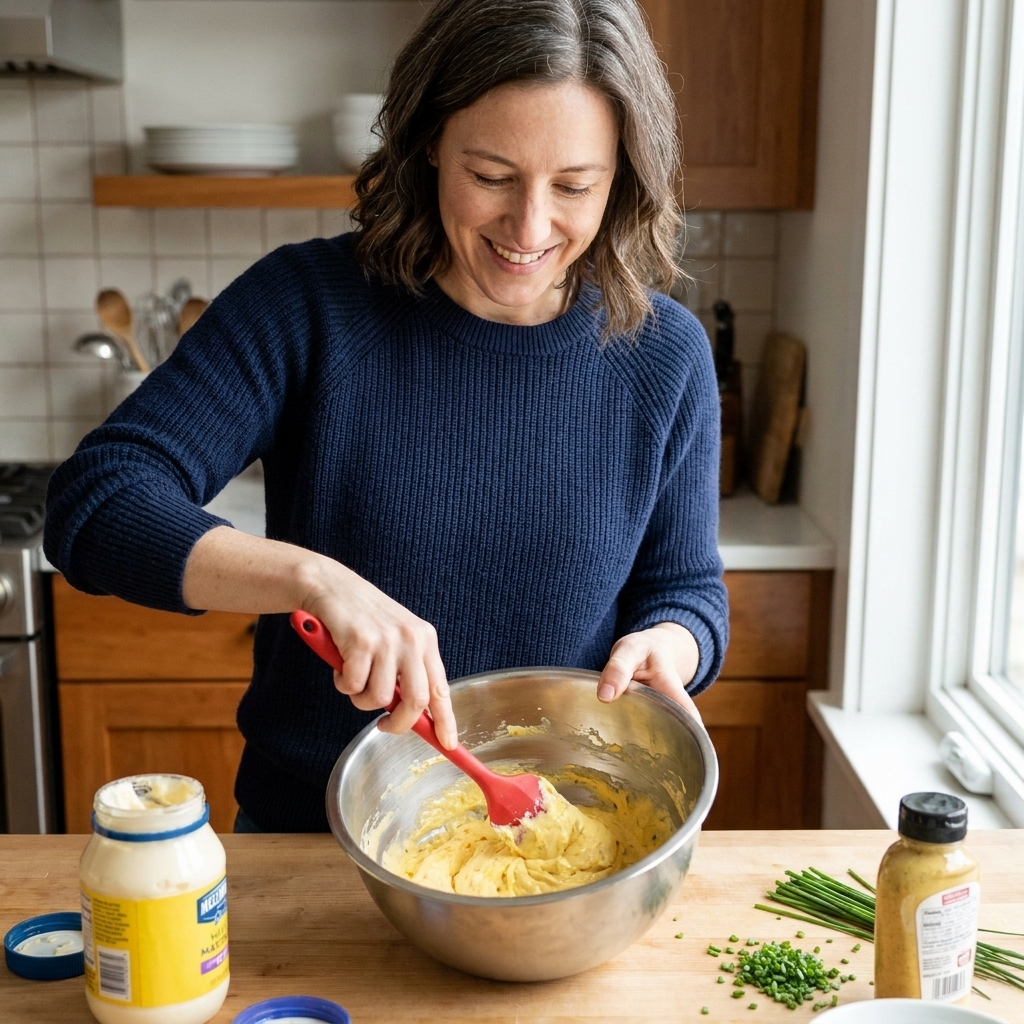
- Within a few hours of serving: Mix filling and pipe or spoon into the dyed whites.
If your filling ever loosens up (it happens, especially with extra mustard, pickles, or watery add-ins), this rescue guide is my go-to: How to Fix Runny Deviled Egg Filling.
Theme color ideas
- Easter: beet (pink), turmeric (yellow), cabbage (blue or purple), hibiscus (lavender)
- Halloween: cabbage for moody blue, coffee for tan, beet for “vampy” pink, then top with smoked paprika
- Christmas: beet pink plus lots of green toppings like chives, parsley, or finely diced pickles
- Baby shower: cabbage blue and beet pink, plus a few classic white ones for contrast
- Spring brunch: mostly pastels, finished with microgreens or dill fronds
For serving, I like to keep the tray chilled and tight so the colors pop. This planning guide helps a ton: Plan a Chilled Deviled Egg Party Tray.
FAQ
Do natural dyes change the taste?
In my experience, not much, especially if you dry the whites well and fill them with a flavorful deviled egg mixture. Cabbage dye can leave the faintest veggie aroma while wet, but once the whites are dried and filled, it is barely noticeable.
Can I dye the eggs after they are filled?
I do not recommend it. Dye can tint your filling and make it weepy. Dye the whites first, dry them, then fill.
Why are my dyed whites rubbery?
Usually one of three things: the dye was warm, the eggs soaked for a very long time, or the eggs were overcooked to begin with. Start with properly cooked eggs, cool everything fully, and dye in shorter increments until you like the color.
Can I dye eggs that still have the shell on?
You can, but that is a different project (more like traditional dyed Easter eggs). For deviled eggs, I prefer dyeing peeled halves so the color is vibrant and controlled exactly where you want it.
My cabbage “blue” turned gray or purple. What happened?
Red cabbage dye reacts to pH and to what is in your water. Too much vinegar can push it more purple. A weak dye can look grayish. Use a stronger cabbage brew, strain well, keep the dye cold, and give it time. If you want bluer tones, skip vinegar at first and rely on a longer soak.
One last hosting trick
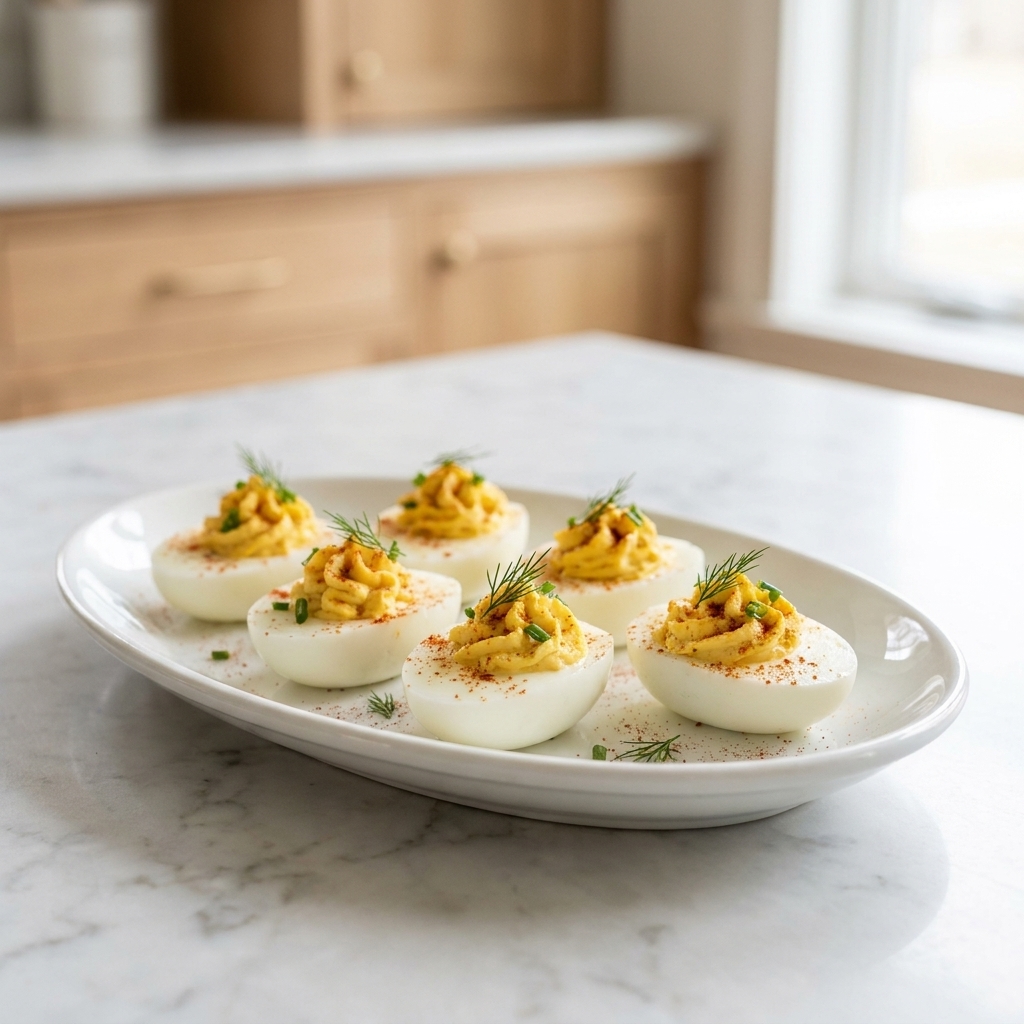
If you want your platter to look intentional (not like a craft experiment you barely survived), pick two or three colors plus some white ones. Add one simple garnish across the whole tray, like paprika, chopped chives, or dill. The result looks cohesive, festive, and still completely unfussy, which is my favorite kind of party food.
If you want more deviled egg basics and variations, my starting point is here: Deviled Eggs Guide.