Step 6 - Filling and eating (yum, the best part) ...
And finally, you get to enjoy the fruits
of your labor. Take the bowlful of filling and use one of
following three techniques to fill your egg whites:
1.) The Spoon Technique - You can fill each egg white with
a spoonful of filling. Using two spoons, fill the first and
then shovel off the filling into the shell with the second
spoon.
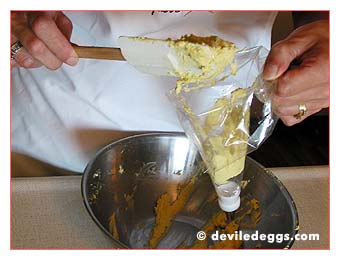
2.) The Pastry Bag - You can use a pastry bag to fill the
egg shells, as you see above. This gives you more precision
to get the filling in the white and you can make some fancy
designs depending on the nozzle you choose. Below I am using
a Wilton Cake Decorator with the #32 tip. When you get closer
to the bottom of the page, you'll see the nice design I made
by using it.
Filling the pastry bag:
 Or
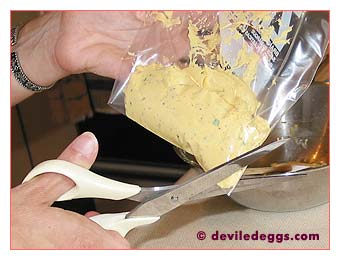
3.) The Baggie Technique - Very Popular!
If you don't have a pastry bag, a great substitute is a plastic
ziploc bag. I use a freezer bag because the plastic is thicker,
but in a pinch, a sandwich bag will do. Just don't squeeze
too hard or you'll blow out a bag seam! Fill the baggie with
filling and (once full) snip a small corner of the bag away
to create the "pastry tip". This allows you to aim
into the center of the shell and benefit from the precision
offered by using a pastry bag. Or
3.) The Baggie Technique - Very Popular!
If you don't have a pastry bag, a great substitute is a plastic
ziploc bag. I use a freezer bag because the plastic is thicker,
but in a pinch, a sandwich bag will do. Just don't squeeze
too hard or you'll blow out a bag seam! Fill the baggie with
filling and (once full) snip a small corner of the bag away
to create the "pastry tip". This allows you to aim
into the center of the shell and benefit from the precision
offered by using a pastry bag.
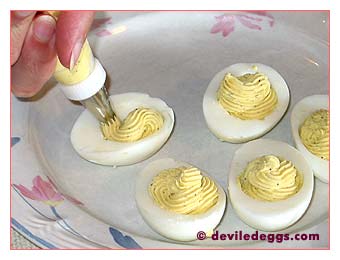
Squeeze the filling from your pastry bag
or your plastic baggie and fill the shells.
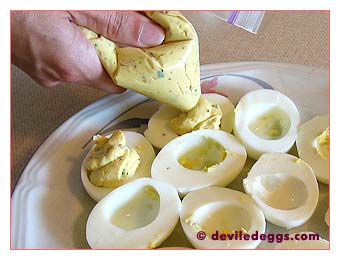
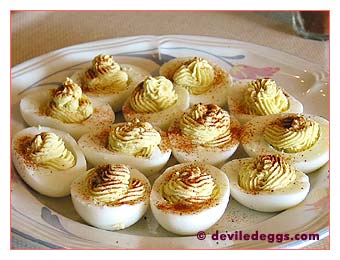 Once
you finish filling the whites, sprinkle with a little garnish
of your choice (or whatever one the recipe calls for.) Here
I've used paprika. Many deviled egg recipes benefit from a
couple of hours in the refrigerator prior to serving to allow
the flavors to blend. Once
you finish filling the whites, sprinkle with a little garnish
of your choice (or whatever one the recipe calls for.) Here
I've used paprika. Many deviled egg recipes benefit from a
couple of hours in the refrigerator prior to serving to allow
the flavors to blend.
You can store them in the fridge for up to one day safely
prior to consumption. There are some lovely deviled egg plates
you can use to present them at your get-togethers too.
I wouldn't blame you for eating one right away though ...
Enjoy!
 Back to the recipe section!
|


 Or
3.) The Baggie Technique - Very Popular!
If you don't have a pastry bag, a great substitute is a plastic
ziploc bag. I use a freezer bag because the plastic is thicker,
but in a pinch, a sandwich bag will do. Just don't squeeze
too hard or you'll blow out a bag seam! Fill the baggie with
filling and (once full) snip a small corner of the bag away
to create the "pastry tip". This allows you to aim
into the center of the shell and benefit from the precision
offered by using a pastry bag.

 Once
you finish filling the whites, sprinkle with a little garnish
of your choice (or whatever one the recipe calls for.) Here
I've used paprika. Many deviled egg recipes benefit from a
couple of hours in the refrigerator prior to serving to allow
the flavors to blend.